Did you know that there are simple DIY home repair hacks that can save you time and money? You might be surprised to learn that you can fix a leaky faucet, quiet a squeaky door, patch a cracked tile, and repair a damaged wall all on your own. These hacks are easy to do and require just a few basic tools. So, if you're tired of calling a professional every time something breaks in your home, keep reading to discover these four simple DIY home repair hacks that will have you feeling like a handyman in no time.
Key Takeaways
- Leaky faucets can often be repaired by replacing the faulty washer.
- Proper lubrication of door hinges can prevent squeaking.
- Cracked tiles can be replaced with adhesive or filled with epoxy resin.
- Damaged walls can be repaired with drywall or mesh patches and joint compound, followed by priming and painting for a seamless finish.
Fixing a Leaky Faucet
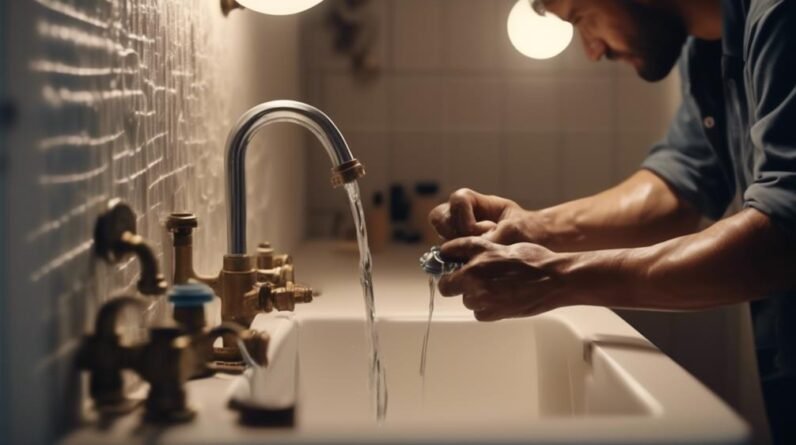
If you're tired of the constant drip, drip, drip of a leaky faucet, don't worry – fixing it is easier than you might think. One common cause of a leaky faucet is a faulty washer. To replace it, start by turning off the water supply under the sink. Next, unscrew the handle and remove it, along with the packing nut and stem. Look for the washer at the bottom of the stem and carefully remove it. Take the old washer to a hardware store to find an exact replacement. Once you have the new washer, place it on the stem and reassemble the faucet in the reverse order. Tighten everything securely and turn on the water supply. If the leak persists, you may need to adjust the water pressure levels. Locate the water pressure regulator, typically found near the main water shut-off valve. Using a screwdriver, turn the regulator clockwise to increase the pressure or counterclockwise to decrease it. Test the faucet again to see if the leak has stopped. With these simple steps, you can fix a leaky faucet in no time and save yourself from the annoyance of that constant drip.
Quieting a Squeaky Door
To quiet a squeaky door, you can easily fix the issue with a few simple steps. The two most common causes of a squeaky door are lack of lubrication on the hinges and misalignment of the door. By addressing these issues, you can eliminate the annoying noise and ensure smooth operation of your door.
First, check the hinges for any signs of wear or rust. Apply a lubricant such as WD-40 or silicone spray to the top and bottom hinges. Open and close the door several times to allow the lubricant to penetrate the hinges. Wipe off any excess lubricant to prevent it from attracting dirt and dust.
If lubricating the hinges doesn't solve the problem, the door may be out of alignment. To adjust the door alignment, follow these steps:
| Step | Instructions |
|---|---|
| 1 | Close the door and examine the gap between the door and the frame. |
| 2 | If the gap is larger at the top, loosen the top hinge screws slightly. If the gap is larger at the bottom, loosen the bottom hinge screws. |
| 3 | Gently push or pull the door in the opposite direction of the gap to align it. |
| 4 | Retighten the hinge screws and test the door for any remaining squeaks. |
Patching a Cracked Tile
Are you tired of looking at that unsightly crack in your tile? Don't worry, patching a cracked tile is easier than you might think. Here's a simple DIY hack to help you fix it yourself.
First, gather the necessary materials: tile adhesive, a putty knife, a sponge, and a replacement tile (if needed). Start by cleaning the cracked tile and the surrounding area with a mild detergent. Make sure to remove any dirt or debris that might interfere with the adhesive.
Next, apply a thin layer of tile adhesive to the back of the replacement tile. Press it firmly into place, making sure it aligns perfectly with the existing tiles. Use the putty knife to remove any excess adhesive.
Allow the adhesive to dry completely, following the manufacturer's instructions. Once dry, use the sponge to clean any remaining residue from the tile surface.
If you don't have a replacement tile, you can also use epoxy resin to fill the crack. Mix the resin according to the manufacturer's instructions and apply it to the crack using a putty knife. Smooth out the surface with a damp sponge and let it dry.
Now you can enjoy your newly patched tile, without the unsightly crack. Remember, DIY repairs like this can save you time and money, and give you a sense of accomplishment. So, go ahead and tackle that cracked tile like a pro!
Repairing a Damaged Wall
Now that you've successfully patched your cracked tile, it's time to move on to repairing a damaged wall. Whether it's from a doorknob hitting the wall or an accidental hole created during a furniture move, repairing drywall holes is a fairly simple task that you can easily handle yourself.
To start, you'll need a few basic tools: a putty knife, sandpaper, joint compound, and a piece of drywall or mesh patch. Begin by cleaning the damaged area, removing any loose debris or flaking paint. Cut a piece of the patch to fit the hole and place it over the damaged area. Apply a thin layer of joint compound using the putty knife, feathering the edges to create a smooth transition. Allow it to dry completely before sanding it down and applying a second coat if necessary.
Once the repair is complete, you can move on to painting over the repaired walls. Start by priming the patched area to ensure an even paint finish. Use a high-quality paint that matches the existing wall color and apply it with a roller or brush. Allow the paint to dry completely before assessing if any touch-ups are needed.
Repairing a damaged wall may seem intimidating, but with the right tools and a little patience, you can easily tackle this DIY project. Soon enough, your wall will look as good as new!
Frequently Asked Questions
How Can I Prevent a Leaky Faucet From Happening in the First Place?
To prevent a leaky faucet from happening in the first place, you should regularly check the washers and O-rings for any signs of wear or damage. Also, make sure to tighten any loose connections and fix any drips immediately.
What Tools Do I Need to Fix a Squeaky Door?
To fix a squeaky door, you'll need a few tools: a screwdriver, a lubricant like WD-40 or silicone spray, and possibly a hammer or pliers. Knowing how to lubricate a squeaky door and understanding the common causes will help you tackle the problem effectively.
How Do I Determine the Cause of a Cracked Tile?
To determine the cause of a cracked tile, carefully inspect the surrounding area for any signs of water damage or movement. If the crack is due to a structural issue, you may need to repair the underlying problem before fixing the tile.
Can I Repair a Damaged Wall Without Using Professional Help?
You can definitely repair a damaged wall without professional help! There are many DIY wall repair techniques you can try. Here are some tips for fixing damaged walls on your own.
Are There Any Safety Precautions I Should Take When Attempting These DIY Repairs?
When attempting DIY repairs, it's crucial to prioritize safety. Always wear protective gear like goggles and gloves, and make sure to turn off the power before working on electrical systems. Avoid rushing and taking shortcuts to prevent accidents.
Conclusion
In conclusion, these four simple DIY home repair hacks can save you time and money. By fixing a leaky faucet, quieting a squeaky door, patching a cracked tile, and repairing a damaged wall, you can easily tackle common household issues on your own. With a little bit of effort and the right tools, you can make your home more functional and aesthetically pleasing. So why wait? Start tackling those repairs today and enjoy the satisfaction of a job well done.


