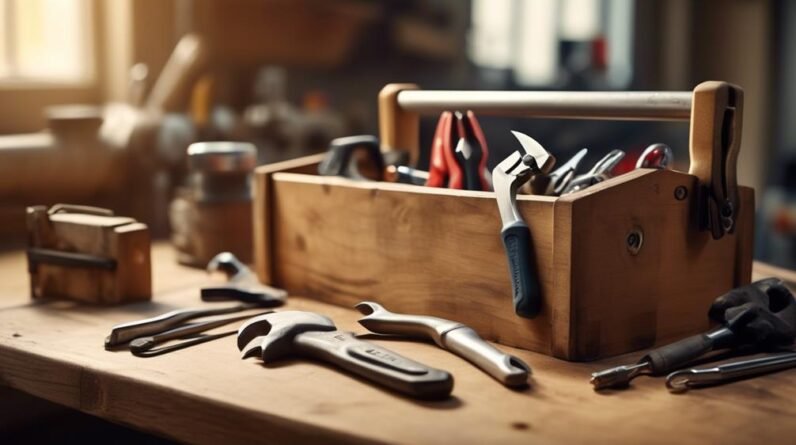
So you've managed to turn your home into a never-ending DIY project. Congratulations! But fear not, dear homeowner, for we have just the solution you need. In this discussion, we will uncover six genius hacks that will make those pesky home repairs a breeze. From fixing leaky faucets to patching holes in the wall, we've got you covered. But that's not all, there's so much more to discover. So put on your tool belt and get ready to transform your home into a haven of perfection.
Key Takeaways
- Proper maintenance and repairs can easily solve common home issues such as faucet leaks, wall holes, carpet stains, and door problems.
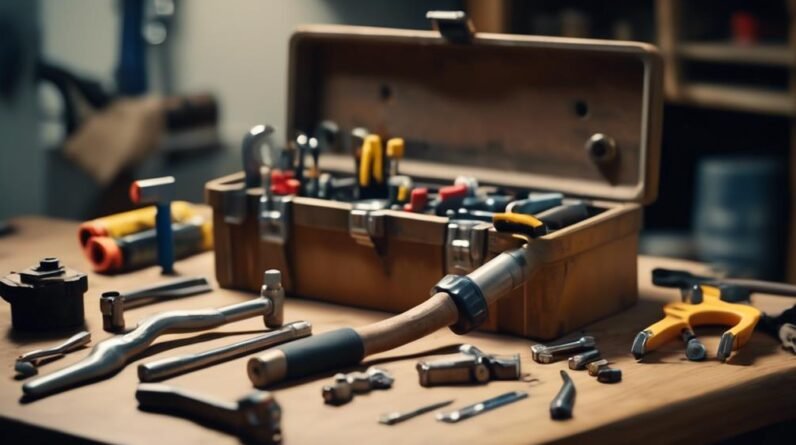
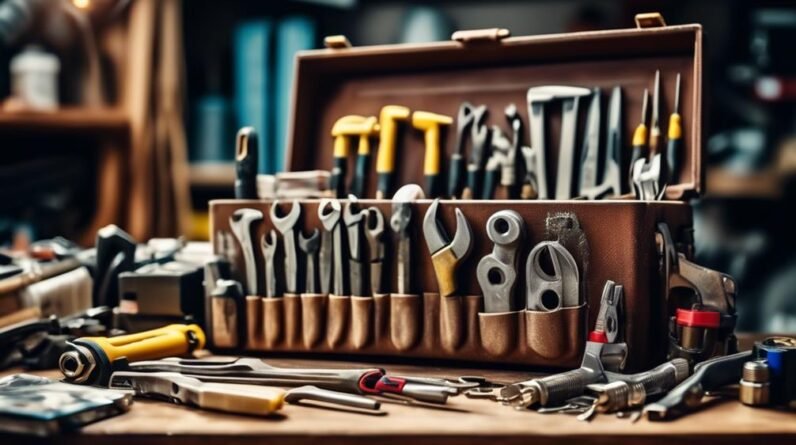
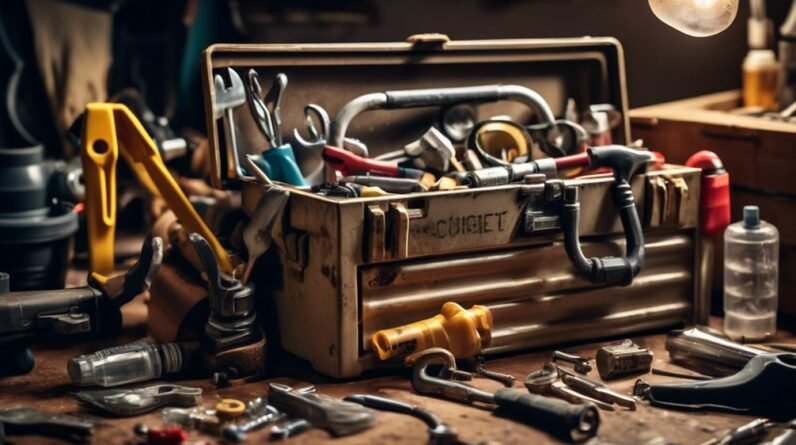
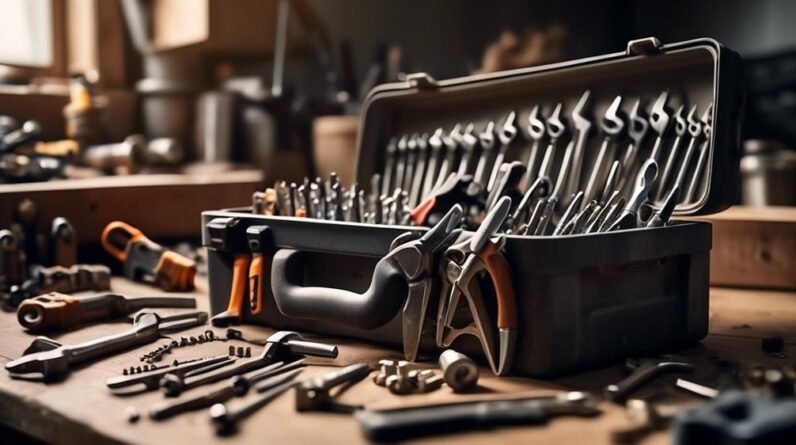
- It is important to gather the necessary tools and materials before starting any repair task.
- Following manufacturer's instructions and using the right products for each repair job is crucial for successful results.
- Regular maintenance and prevention methods can help avoid costly repairs in the future.
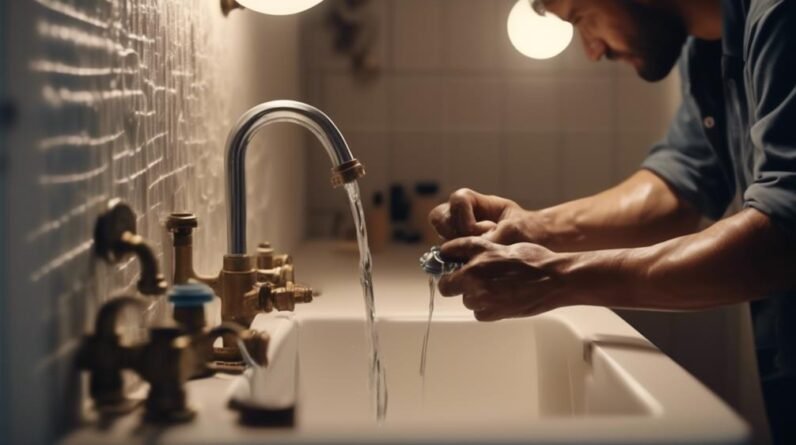
Fixing Leaky Faucets
If you have a leaky faucet, it's time to roll up your sleeves and get ready to fix it with these easy home repair hacks. Fixing a leaky faucet is not only essential for preventing water damage but also for saving on your water bill. To start, you will need a few basic tools and materials. First, make sure to turn off the water supply to the faucet. This will prevent any further leakage while you work. Next, gather an adjustable wrench, a screwdriver, and a replacement washer or cartridge, depending on the type of faucet you have. Once you have the necessary tools, remove the handle of the faucet using the screwdriver. Then, use the wrench to loosen and remove the packing nut. Take out the old washer or cartridge and replace it with the new one. Finally, reassemble the faucet and turn on the water supply to check for any leaks. With these simple steps and the right tools, you can easily fix a leaky faucet and prevent water damage in your home.
Patching Holes in the Wall
Now that you've successfully fixed your leaky faucet, let's move on to addressing another common home repair issue: patching holes in the wall. When it comes to blending wall patches seamlessly, there are a few key factors to consider. First, you need to choose the right type of wall patching material. There are various options available, such as spackling paste, joint compound, and self-adhesive patches. Spackling paste is great for small holes, while joint compound is more suitable for larger holes. Self-adhesive patches are the easiest to use, as they come with an adhesive backing that sticks to the wall. Each material has its pros and cons, so it's important to weigh your options based on the size and location of the hole. Additionally, make sure to follow the manufacturer's instructions for application and drying time. Once your patch is dry, you can sand it down to achieve a smooth finish. Finally, don't forget to prime and paint the patched area to match the rest of the wall. With the right materials and techniques, you can easily patch holes in your walls and make them look as good as new.
Removing Stains From Carpets
To effectively remove stains from carpets, follow these simple steps:
- Blot the stain immediately with a clean, absorbent cloth or paper towel to remove as much of the liquid or substance as possible.
- Avoid rubbing the stain, as this can push it further into the carpet fibers and make it harder to remove.
- Use a carpet cleaning product that is specifically designed for the type of stain you are dealing with. For example, for food stains, opt for an enzyme-based cleaner, while for pet stains, choose a cleaner with odor-neutralizing properties.
- Test the carpet cleaning product on a small, inconspicuous area of the carpet first to ensure that it does not cause any discoloration or damage.
- Follow the manufacturer's instructions for the carpet cleaner, including the recommended amount to use and the appropriate application method.
Preventing carpet stains:
- Place mats or rugs in high-traffic areas to protect the carpet from dirt and spills.
- Promptly clean up any spills or accidents to prevent them from setting into the carpet fibers.
- Use furniture coasters or pads to prevent furniture legs from causing indentations or stains on the carpet.
- Avoid wearing shoes indoors to minimize the amount of dirt and debris that can be tracked onto the carpet.
- Regularly vacuum and professionally deep clean your carpets to maintain their appearance and prevent stains from setting in.
Repairing Squeaky Doors
Is your door making an annoying squeaking sound every time you open or close it? Don't worry, there are simple solutions to fix it. One of the easiest ways is to lubricate the door hinges with a silicone-based lubricant. Additionally, check for any loose screws and tighten them to eliminate the squeak.
Lubricating Door Hinges
To repair squeaky doors, start by lubricating the hinges using a suitable lubricant. This simple yet effective solution can prevent rust, extend the hinge's lifespan, and reduce door noise. Here are five genius hacks to make this process even easier:
- Use a silicone-based lubricant: Silicone lubricants are ideal for door hinges as they offer long-lasting protection and don't attract dust or dirt.
- Apply the lubricant directly to the hinge pins: This ensures that the lubricant reaches the areas where it's needed the most.
- Wipe off any excess lubricant: Too much lubricant can attract dirt and debris, so make sure to remove any excess after application.
- Open and close the door several times: This helps distribute the lubricant evenly and ensures smooth movement.
- Repeat the process regularly: To maintain optimal performance, lubricate the hinges every six months or as needed.
Tightening Loose Screws
Tighten loose screws to repair squeaky doors and restore smooth movement. Preventing stripped screws is essential for maintaining the integrity of your door hinges. To prevent screws from becoming loose in the first place, a simple trick is to use toothpicks to fill in the screw holes. Here's a step-by-step guide for tightening loose screws and preventing further damage:
| Steps | Instructions |
|---|---|
| 1 | Remove the loose screw using a screwdriver. |
| 2 | Dip a toothpick in wood glue and insert it into the screw hole. |
| 3 | Break off the excess toothpick, leaving it flush with the surface. |
| 4 | Reinsert the screw into the hole and tighten it securely. |
| 5 | Allow the glue to dry completely before testing the door's movement. |
Unclogging Drains
Clearing clogged drains can be easily accomplished using simple household ingredients and a few effective techniques. Don't let a clogged drain ruin your day when you can take care of it yourself with these DIY drain cleaning solutions:
- Preventing drain clogs: The best way to deal with a clogged drain is to prevent it from happening in the first place. Avoid pouring grease, oil, and food scraps down the drain. Use a drain cover to catch hair and debris before they cause a blockage.
- Baking soda and vinegar: This classic combination can work wonders on clogged drains. Pour half a cup of baking soda down the drain, followed by half a cup of vinegar. Let it sit for 30 minutes, then flush with hot water.
- Salt and boiling water: Dissolve half a cup of salt in a pot of boiling water and carefully pour it down the drain. The hot water will help break up the clog while the salt acts as a natural cleaner.
- Plunger: A plunger can be a powerful tool for unclogging drains. Make sure there is enough water in the sink or tub to cover the plunger's cup. Place the plunger over the drain and push down firmly, then pull up quickly to create suction.
- Wire hanger: Straighten a wire hanger and create a small hook at one end. Insert it into the drain and use it to pull out any hair or debris that may be causing the clog.
With these simple techniques, you can keep your drains flowing smoothly and avoid the hassle and expense of calling a plumber.
Replacing Broken Tiles
When it comes to maintaining your home, tackling clogged drains is just the beginning – now let's move on to the next task at hand: replacing broken tiles. Whether it's a cracked tile or one that has completely shattered, replacing it can refresh the look of your space. First, you'll need to remove the damaged tile. Start by using a grout saw to carefully cut through the grout surrounding the tile. Once the grout is removed, gently pry the tile away from the adhesive using a chisel. Next, clean the area and scrape off any remaining adhesive. To ensure a seamless look, apply new adhesive to the back of the replacement tile and press it firmly into place. Once the adhesive has dried, it's time to regrout the area. Mix the grout according to the manufacturer's instructions and apply it to the gaps using a grout float. After the grout has set for a few minutes, use a damp sponge to wipe away the excess. Finally, seal the cracked tile grout to prevent future damage and maintain the integrity of your repair.
Frequently Asked Questions
How Do I Fix a Leaking Showerhead?
To fix a leaking showerhead, start by turning off the water supply. Then, use a wrench to tighten the connections. If that doesn't work, replace the showerhead washer. Regular showerhead maintenance can help prevent leaks.
What Is the Best Way to Patch a Large Hole in Drywall?
The best way to patch a large hole in drywall is to use a drywall patch kit and follow the instructions. Once the patch is secure, sand it down and apply a coat of primer before painting over it.
How Can I Remove Stubborn Pet Stains From My Carpet?
To remove stubborn pet stains from your carpet, try DIY pet stain removers. Mix vinegar, water, and baking soda to create a solution. Blot the stain, apply the solution, and let it sit. Finally, vacuum and say goodbye to carpet odor.
Why Does My Door Keep Squeaking and How Can I Fix It?
Is your door squeaking? Learn how to fix it with these easy DIY door repairs. Regular door maintenance, such as lubricating hinges and tightening screws, can help eliminate the annoying squeak.
What Are Some Effective Methods for Unclogging a Bathtub Drain?
To prevent clogs in bathroom sinks, make sure to regularly clean the drain with a mixture of vinegar and baking soda. For unclogging a bathtub drain, try using a plunger or a drain snake.
Conclusion
In conclusion, these genius home repair hacks can help you tackle common issues with ease. From fixing leaky faucets and patching holes in the wall to removing stains from carpets and repairing squeaky doors, these practical solutions will save you time and money. Don't let small repairs become big headaches, use these hacks to keep your home in great condition. Remember, a little effort can go a long way in maintaining a functional and beautiful living space.