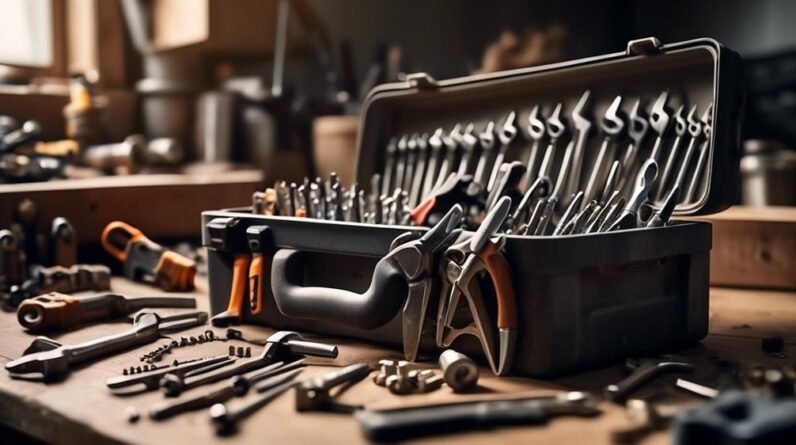
Want to save some money and tackle quick home repairs on your own? There are a variety of DIY projects you can easily accomplish without breaking a sweat or your bank account. From fixing leaky faucets to repairing squeaky doors, these quick fixes can make a big difference in your home. So, grab your tools and get ready to transform your space with these simple and effective solutions.
Key Takeaways
- Plumbing repairs include fixing leaky faucets and unclogging kitchen sinks.
- Wall repairs involve patching up small holes and repairing damaged baseboards.
- Cabinet and furniture repairs include fixing loose cabinet handles and strengthening wobbly furniture.
- Electrical repairs involve replacing broken light switches and troubleshooting faulty switches.
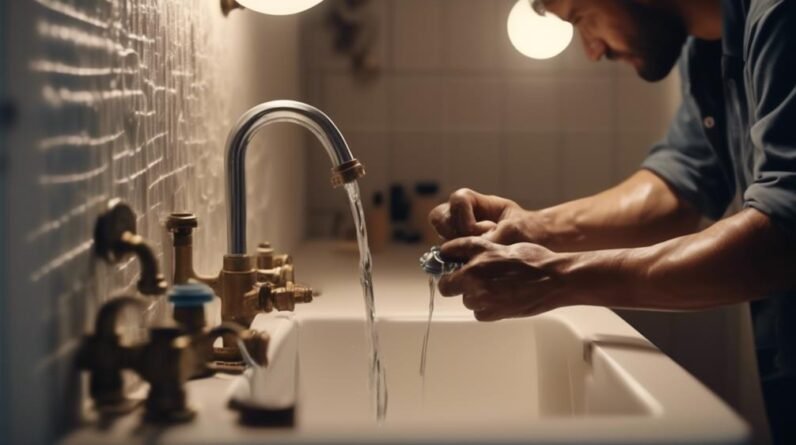
Fixing Leaky Faucets
To fix a leaky faucet, start by turning off the water supply to the affected faucet. This is crucial to prevent any further water damage and make the repair process easier. Once the water supply is off, you can proceed to diagnose the problem. Leaky faucets are often caused by worn-out faucet cartridges, which can easily be replaced. Begin by removing the handle of the faucet, which may require a screwdriver or an Allen wrench. Once the handle is removed, you will see the cartridge. Carefully take it out and replace it with a new one of the same type. Make sure to follow the manufacturer's instructions for the specific faucet model. After replacing the cartridge, reassemble the faucet handle and turn on the water supply to check if the leak has been fixed.
If the leak persists even after replacing the cartridge, the issue may be due to a clogged kitchen sink. In this case, you will need to unclog the sink to solve the problem. Start by using a plunger to create suction and dislodge any debris or food particles that may be causing the clog. If the plunger doesn't work, you can try using a drain snake or a wire hanger to manually remove the clog. Another option is to use a chemical drain cleaner, but be cautious and follow the instructions carefully. Once the clog is cleared, run hot water to ensure the sink is draining properly. Remember to regularly clean your kitchen sink to prevent future clogs and maintain its functionality.
Patching Up Small Holes
You can easily patch up small holes in your walls using a few simple steps. For repairing cracked walls, start by cleaning the area around the hole with a damp cloth to remove any dirt or dust. Use a putty knife to apply a small amount of spackling compound to the hole, making sure to fill it completely. Smooth out the surface with the putty knife and allow it to dry according to the manufacturer's instructions. Once dry, sand the patched area gently to create a smooth finish.
When it comes to filling in damaged baseboards, begin by removing any loose or damaged pieces. Next, use a putty knife to apply wood filler to the damaged area, making sure to fill it completely. Smooth out the surface with the putty knife and allow it to dry. Once dry, sand the area to create a seamless look. You can then paint or stain the baseboard to match the surrounding area.
With these simple steps, you can patch up small holes in your walls and repair cracked walls or damaged baseboards with ease.
Repairing Loose Cabinet Handles
After successfully patching up small holes in your walls and repairing cracked walls or damaged baseboards, it's time to address another common household issue: repairing loose cabinet handles. Strengthening wobbly furniture and repairing damaged window screens are other quick DIY tasks that can be tackled easily.
To fix loose cabinet handles, follow these simple steps:
- Tighten Screws: Start by checking if the screws holding the handle in place are loose. Use a screwdriver to tighten them. If the screws are stripped, replace them with longer ones for a more secure fit.
- Add Toothpicks: If the screw holes are too big for the screws, remove the screws and insert toothpicks or wooden matchsticks coated with wood glue into the holes. Trim off the excess, then reinsert the screws. The toothpicks will provide extra grip and stability.
- Use Thread-locking Compound: Apply a small amount of thread-locking compound to the screws before tightening them. This will help prevent them from loosening over time.
Replacing Broken Light Switches
Before getting started on replacing broken light switches, gather the necessary tools and materials for the job. You will need a flathead screwdriver, a voltage tester, wire strippers, wire nuts, electrical tape, and a new light switch. Upgrading electrical outlets and troubleshooting faulty switches are common DIY tasks that can improve the functionality and safety of your home. To begin, turn off the power to the switch at the circuit breaker. Use the voltage tester to ensure that the power is truly off. Remove the cover plate and unscrew the switch from the electrical box. Carefully disconnect the wires from the old switch, making note of their placement. Connect the wires to the new switch, ensuring that the hot wire is attached to the brass screw and the neutral wire to the silver screw. Secure the switch back into the electrical box and replace the cover plate. Finally, turn the power back on and test the new switch. Remember to always follow safety precautions and consult a professional if you are unsure about any step.
Fixing Squeaky Doors
To fix squeaky doors, start by identifying the source of the noise. The most common causes of squeaks are loose hinges or screws. Begin by examining the hinges for any signs of wear or damage. If the hinges appear to be in good condition, try tightening the screws that hold them in place. Use a screwdriver to carefully tighten each screw, being careful not to overtighten and strip the holes. This simple step can often eliminate the squeak. If tightening the screws doesn't solve the problem, the next step is to lubricate the hinges. Apply a lubricant such as WD-40 or a silicone-based spray to the top and bottom hinges. Open and close the door several times to work the lubricant into the hinges. This should effectively reduce or eliminate the squeak. If the noise persists, you may need to replace the hinges altogether. However, in most cases, tightening loose screws or lubricating hinges will solve the issue and restore peace and quiet to your squeaky door.
Frequently Asked Questions
How Can I Repair a Leaking Showerhead?
To repair a leaking showerhead, first turn off the water supply. Then, unscrew the showerhead and check for any worn-out washers or O-rings. Replace them if necessary, and reattach the showerhead tightly.
What Are Some Common Causes of Small Holes in Walls and How Can I Fix Them?
If you find small holes in your walls, they can be caused by various factors like furniture or accidental damage. To fix them, use a patching compound and follow DIY tutorials for drywall repair.
How Do I Tighten Loose Doorknobs?
To tighten loose doorknobs, start by removing the screws on the inside of the door handle. Apply a bit of wood glue to the holes, then reinsert and tighten the screws. This simple door handle maintenance will fix the problem.
Can I Replace a Broken Light Switch Without Turning off the Power?
Yes, you should always turn off the power before replacing a broken light switch. It is important to prioritize safety when dealing with electrical repairs.
What Are Some Effective Methods for Lubricating Squeaky Door Hinges?
To fix squeaky door hinges, try these methods: 1) Apply WD-40 or a silicone-based lubricant. 2) Tighten loose screws. 3) Use a hammer and nail to tap the hinge pins. Remember to maintain door hardware regularly for smoother operation.
Conclusion
In conclusion, quick DIY home repairs can save you time and money. By fixing leaky faucets, patching up small holes, repairing loose cabinet handles, replacing broken light switches, and fixing squeaky doors, you can maintain a functional and comfortable living space. These simple tasks can be easily accomplished with the right tools and a little bit of effort. So, roll up your sleeves, and tackle those minor repairs to keep your home in tip-top shape.